 September 8, 2026
How to Photograph a Printed Menu for AI Import
Prepare a clear menu photo, organize multiple pages, and review the extracted draft before publishing your restaurant menu.
Start with the menu you intend to serve
A sharp photo of an outdated menu still creates an outdated starting point. Before reaching for a phone, ask the person responsible for the menu to confirm the source. Gather the current food and drinks pages, remove superseded specials, and resolve handwritten corrections that could be read in more than one way.
Treat the photo as input for a draft. AI import can help organize what is visible, but it does not establish whether a dish is available or a price is approved. A careful source and a separate review make the process easier to check. This guide offers a practical capture routine; it does not promise perfect extraction from every design.
Flatten the page and make the type easy to see
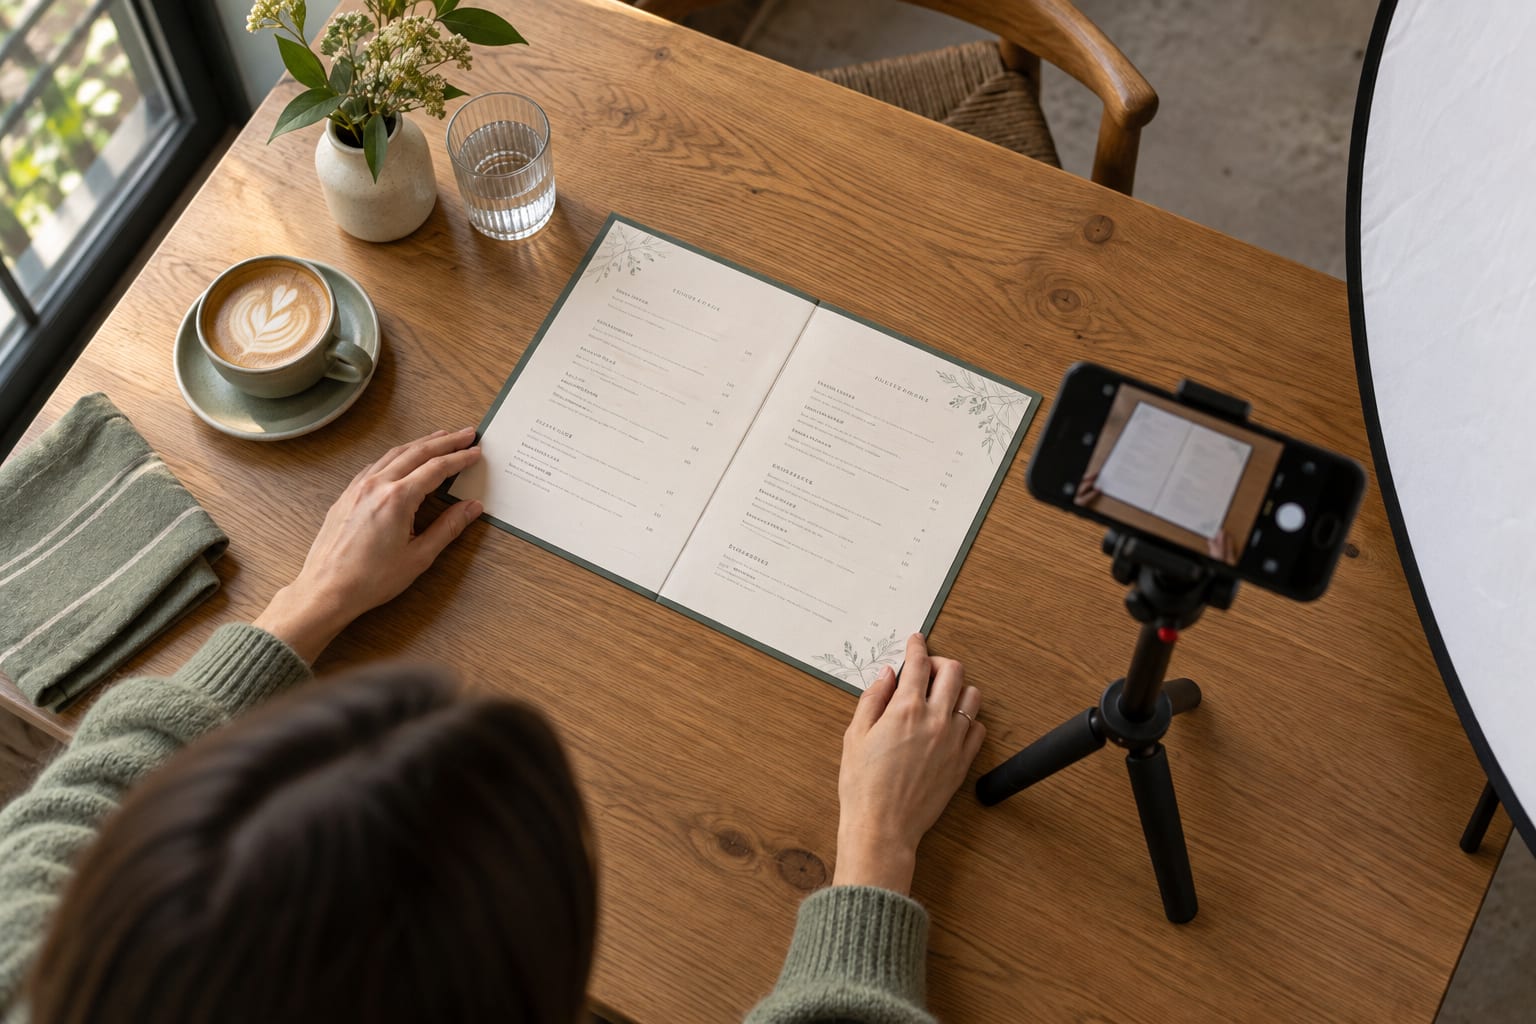
Lay the menu on a clean, steady surface. Open folded panels fully where possible, and keep the area around the page clear. Position the phone so the page looks rectangular in the camera view, with all four edges visible. Avoid a steep angle that makes the far side of the menu much smaller than the near side.
Use even light and inspect the preview for shadows and bright reflections. If a laminated page reflects the ceiling light, change the light or page position before taking another photo. Keep fingers, clips, and nearby objects away from dish names and prices. A small obstruction at the edge can hide an entire price column.
After capture, enlarge the image and read a few small descriptions and prices. If you cannot distinguish a digit or punctuation mark, retake the image. Your own reading check is a useful gate before upload, though it is not proof that software will interpret every detail correctly.
Handle multiple pages as a small set
Keep a simple list of which pages you have captured. If your import tool accepts one photo at a time, work through that list deliberately and review how each page is added. Do not assume that a second upload appends content or preserves an existing draft; check the tool’s current behavior before importing another page.
Avoid squeezing several small pages into one distant photograph merely to reduce the number of images. Give the smallest menu text enough space to remain readable. Keep the approved originals nearby so you can compare the resulting draft with the source instead of trying to remember the layout.
| Source layout | Capture approach | Review focus |
|---|---|---|
| Single flat sheet | Include the whole page and every edge. | Confirm the first and last items. |
| Folded menu | Open one readable panel or spread at a time. | Check category order across panels. |
| Food and drinks pages | Keep pages identified in your working notes. | Avoid mixing service menus. |
| Specials insert | Confirm it is current before photographing. | Review dates, availability, and repeated dishes. |
Review structure before polishing descriptions
For an illustrative example, a printed line reading “Soup, cup 6 / bowl 9” might need a clearer item structure in the editor. Check that both sizes and their matching prices survive the import. Do not polish the soup description while an option price is still missing.
- Confirm the restaurant and service menu names.
- Check that category headings became headings rather than dishes.
- Compare the number and order of items with the approved source.
- Inspect every price, serving size, supplement, and optional extra.
- Look for text split across columns or attached to the wrong dish.
- Resolve ambiguous wording with the responsible restaurant team.
Separate extraction review from translation review
Approve the original-language draft first. An incorrect source word can be carried into every translated version, making the same correction more time-consuming. Check names, punctuation, quantities, and preparation terms before asking a reviewer to assess the translated menu.
Keep traditional dish names recognizable and provide a verified explanation where useful. If the printed menu leaves an ingredient or preparation detail unclear, ask the kitchen rather than filling the gap from a photograph. The image records the source page; it does not supply missing recipe information.
Finish on the public menu
When the draft is approved, complete the publishing step and open the public menu on a phone. Compare a few items from each section, including the longest description and any dish with more than one price. Confirm that the page order makes sense without the printed layout beside it.
Keep the approved source and a short note of corrections until the review is complete. If you need to repeat an import later, start with the current menu and check whether earlier corrections still apply. A repeatable capture-and-review routine is more useful than relying on one especially good photograph.